
I'm testing out my teaching skills on my kid's friends for summer camp sewing lessons and it's been going really well so far. The basement workshop is still under construction so we set up the dining room as a classroom and it was just big enough.

Poppet and her friend spent a week with me, designing a cloud pillow (dubbed the 'sleepover pillow' during class, which gives me more ideas for classes) and learning to use the sewing machine. Yikes!
On the first day they sketched out their design and cut the fabric for the project. They decided to make little felt characters which attach to the pillows with velcro. So we worked on handsewing, embroidery and a little bit of stuffing.


Next it was time for the machine.
It was with some trepidation that I decided to teach them machine sewing. Poppet has been at me for a while now to learn (she wants to iron as well, God help me) and it turned out that this was the best environment in which to do it. She concentrated and was very focused because it was a classroom setting so it was much easier to get down to business.
We started off watching some fun videos. This one shows how a machine actually works, not sure I really understood this myself before watching it. You can click over to watch it here. Pretty cool, huh?
And then we had a look on Youtube for vintage sewing machines in use and found Norma. We loved Norma, with her hilarious Aussie accent.
Next I downloaded and printed off some great sewing cards for the girls to work on. You can find the ones I used here. We started off with no thread so they could just work on 'driving' and get their pedal speed perfected. That was pretty funny. Both girls squealed with shock the first time they revved up the machine, but they soon got used to it. The next step was to 'sew' a straight line on paper, still without thread. They worked on a little zigzag using this method too.

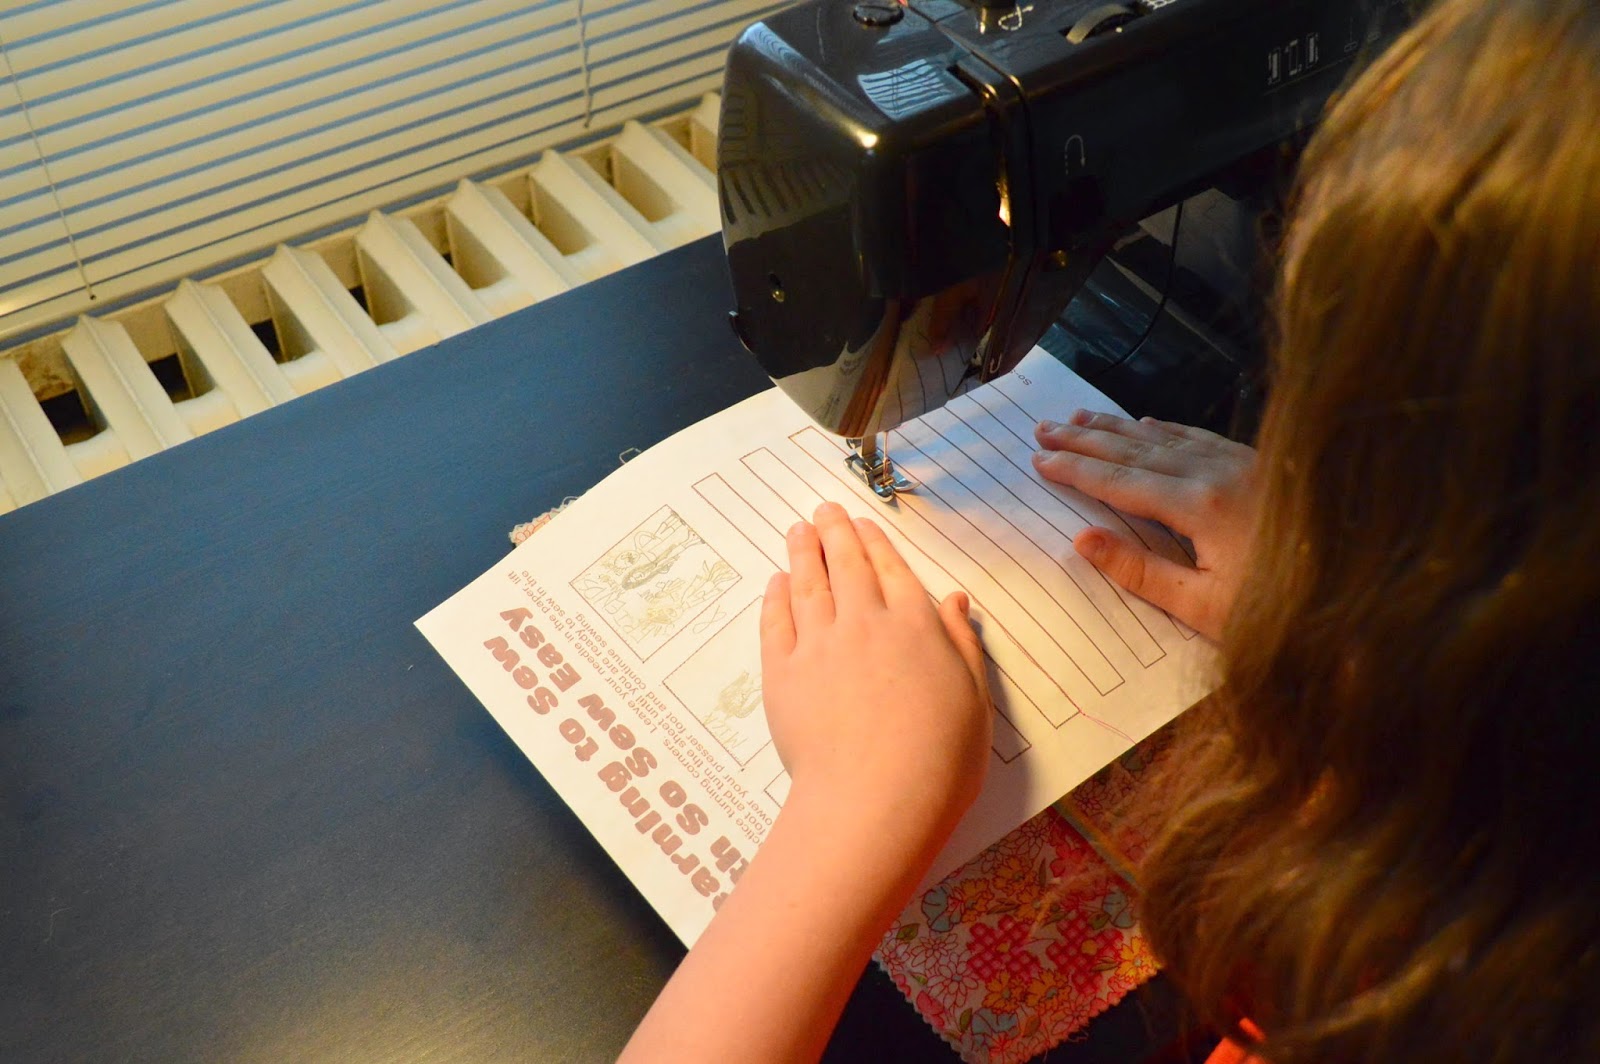


It's a great way to get started, as the pressure of tangles isn't there. They could really focus on control.
Next day we threaded the machine and did a little more work on paper before they stitched some lines on some fabric. Both girls declared the fabric much easier to work with and were so proud of their stitching.

Overnight I basted their pillows together (they weren't ready for sewing with pins just yet, it was a bit of a whirlwind introduction to machine sewing due to time constraints) so they could get onto the machine straight away and get stitching. They simply had to follow my basting line with the machine and I have to say they both did a pretty darn good job of that. Unpicking the basting stitch, however, left a pretty sour taste in both their mouths but we made the time pass with some joking around and minecraft talk.
We stuffed the pillows and the girls learned ladder stitch to close it all up. They were very excited as they watched their stitches disappear like magic. Their work done there was much dancing and singing in celebration. The decision to use minky fabric on the reverse of the pillows turned out to be a great one, they feel amazing and are lovely to cuddle.

I love teaching and am really excited to get my real classes set up in the Fall. Once the basement is done I will invest in another sewing machine and start teaching a variety of classes to people of all sizes. It's very much a work in progress but I think it might just work out all right. I'll have to learn not to bark "fingers!" and "slow down!" quite so loudly though, new kids might find that a little intimidating...
If you want some ideas for your own teaching projects, or just need some tutorial inspiration to learn new things you should check out my "Teach" Pinterest board. So much crafty goodness.

No comments:
Post a Comment
Note: Only a member of this blog may post a comment.